It's time to take to the water with a high speed chase between cops and robbers. Here is the police boat:
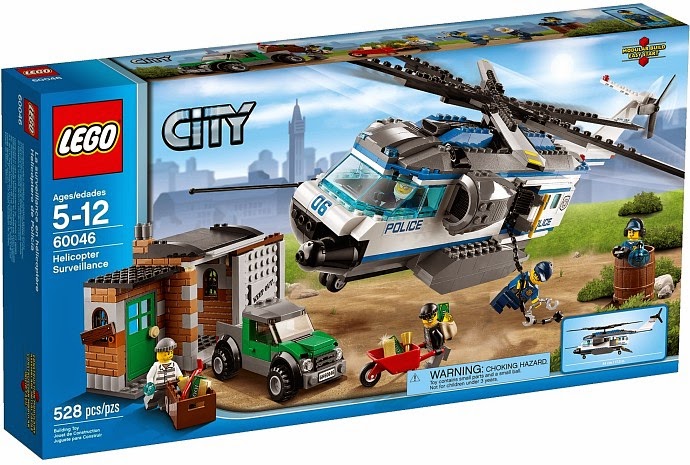
This is an alternate build of Helicopter Surveillance (60046).
When I started looking at this set, I was drawn to the helicopter's windshield and it reminded me of a speedboat. Doing a quick Google search came up with several different LEGO police boats. I didn't want my boat looking like those, so I started to play with the speedboat forked front end.
Playing with things for a bit, I widened the front to break up some of the flat boxy shape the model had. Once the front was starting to look acceptable, the back needed something. For kicks, I threw the giant tail fin on the back. It is quite huge back there, but I like it.
I was able to find two hinge pieces for the motors so they can lift out of the water. The skier on the back was just fun.
So, there you go. As usual, you can find instructions HERE.
Monday, September 29, 2014
Tuesday, September 23, 2014
LEGO Logo
I made it out to a LEGO store this weekend and got the parts I needed for this guy:
Special thanks to the staff at the Orland Park LEGO store for helping me find the pieces that I need.
This is the logo for the place where I work. This was done using a 48x48 baseplate covered in black 4x8 plates. I then use an image reduced to 48x48 pixels. For each point on the image I guestimate a lightness value between 1 and 5 with 5 being full white. I then layer clear pieces until I get the color I'm looking for. It ends up being a big paint-by-number.
This is a technique I saw a few times at Brickworld earlier this year. I thought it was interesting and I wanted to try it. I think it turned out pretty well.
Sorry no instructions for this one. I think they would be pretty difficult to read anyway.
Monday, September 1, 2014
Sweeping up the Streets
My latest build is a little street sweeper to clean up the streets:
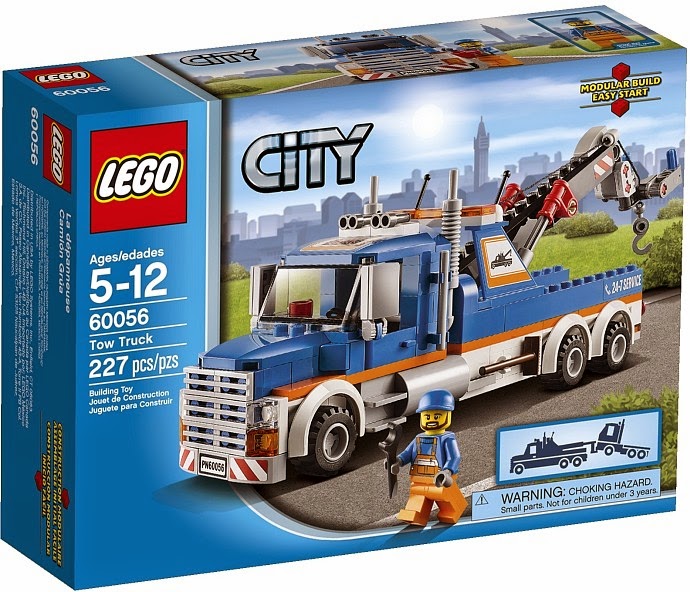
This is an alternate build of the Tow Truck (60056):
This was a fun little project. I knew I wanted to change the front of the truck to a flat-nose style cab. The front grill had several revisions. The bumper and the grill were sticking out too much which was taking away from that flat-nose look. I like what I have pretty well, but I think some other official LEGO sets do a better job.
I wanted to use the extra wheels for something. Using them as street cleaner scrubbers seemed like a pretty good fit. I was worried the scrubbers would be flimsy. It turns out that the spacers I needed to place them properly and the extra pieces I used to fill out the area made for a very solid build.
The tanks in the back required a bit of fiddling as I was running out of pieces. In the end, I got all of my gaps sealed up. I really like the way the broom sits on the back. The antenna on the back of the cab is there to make up for not having a full 1x4 brick to fill in that space. Whatever works I guess.
In the end, it is a very solid, fun little build.
Full build instructions can be found HERE.
Subscribe to:
Comments (Atom)


